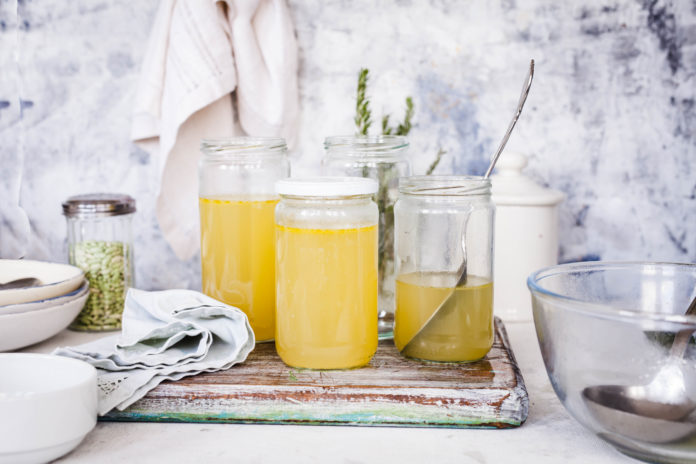
What grants the attention of this broth of the past and present and how can you carry out the tradition? Learn how to make homemade bone broth here!
What Is Bone Broth?
Bone broth is simply a combination of water and animal bones, along with preferential vegetables and seasonings. Unlike a stock, produced by simmering animal meat for a few short hours, the broth simmers bones for at least a 24-hour timespan. The prolonged simmering time essentially releases collagen and minerals, ultimately contributing to these seven proclaimed health benefits. So if wondering how to make bone broth, read on!
Bone Broth Recipe
Ingredients:
- 2 pounds of bones of choice, including beef, chicken, and turkey
- 6 cups water, or just enough to cover the bones
- 2 garlic cloves
- 2 celery stalks
- 1 medium onion
- Black pepper to taste
Steps
1. Choose High-Quality Bones
For a high-quality broth, you want to use high-quality bones. Good bones can be found through a local butcher or farmers market, as well as leftovers from roasted chickens, turkey, etc. Not only does this produce more flavor depth, but utilizes the most of the animal that tends to get discarded. Also experiment with other joints and feet, as they contribute to a greater collagen content.
2. Blanch the Bones
Cover bones in cold water, bring to a boil, then reduce to a simmer for approximately 20 minutes. Doing so unleashes the unwanted “nasty bits”, which are then drained away from the bone and encourages a more desirable taste.
3. Roast the Bones
After draining the blanched bones, it’s time to roast them. The roasting process caramelizes the bones and should be carried out in a fully-cranked up oven, or at least 400°F for 30 minutes.
4. Add the Water
To a large stockpot, add the water. The bones should just be covered and not floating, as too much water can dilute the deeply rich flavor of the broth.
5. Boil and Simmer
Bring mixture to a rolling boil then turn down to a simmer. Dependent on the bones used, simmer time will vary. As a general frame of reference, simmer beef bone broth for 48 hours and chicken bone broth for 24 hours. Ultimately, the thicker and larger the bones, the more time you should allow for flavors to seep out into the broth. Also use the simmering time to skim any impurities that rise to the top. You can likewise prepare bone broth in a slow cooker, heating on low and allowing to cook for up to 72 hours.
6. Add the Veggies and Spices
When there is about six to eight hours simmering time left, roughly chop the garlic, celery, and onion add to the stock, along with ground pepper to taste. In addition to the veggies and spices used in this bone broth recipe, carrots and bay leaves are commonly added to broths. And like repurposing the bones, store and freeze any veggie scraps to put into your stock. But feel free to play around with this step, as some bone broth experts mention more does not necessarily mean better.
7. Enjoy
With the aroma streaming through the kitchen, it’s bone broth time! Well, almost… First, strain the bones, veggies, and other potential bits out of the broth to ensure a smooth product. Pour in your favorite bowl or mug and enjoy. You can also use the broth to produce soups, stews, sauces, and other dishes.
8. Cool and Store
It is important to cool the leftovers as quickly as possible to lessen the risk of any bacterial growth, while also ensuring a fresher broth for longer periods of time. Pouring the broth into shallow containers and adding a few ice cubes can speed up the cooling process. Ultimately, do not put hot broth in the refrigerator; allow it to cool and store in the fridge for approximately four days or in the freezer for up to a year in an airtight container.


